

Threading your serger is the number one complaint I hear about owning an overlock machine. So, let’s face that fear first. Threading your serger is very similar to threading a traditional sewing machine, there are just a few more steps. I’ve added a LOT of photos, to hopefully clarify any confusion there could be.

To start, let’s learn how to take thread OUT of the serger. Most sergers come pre-threaded.

You’re going to start by cutting the thread…..

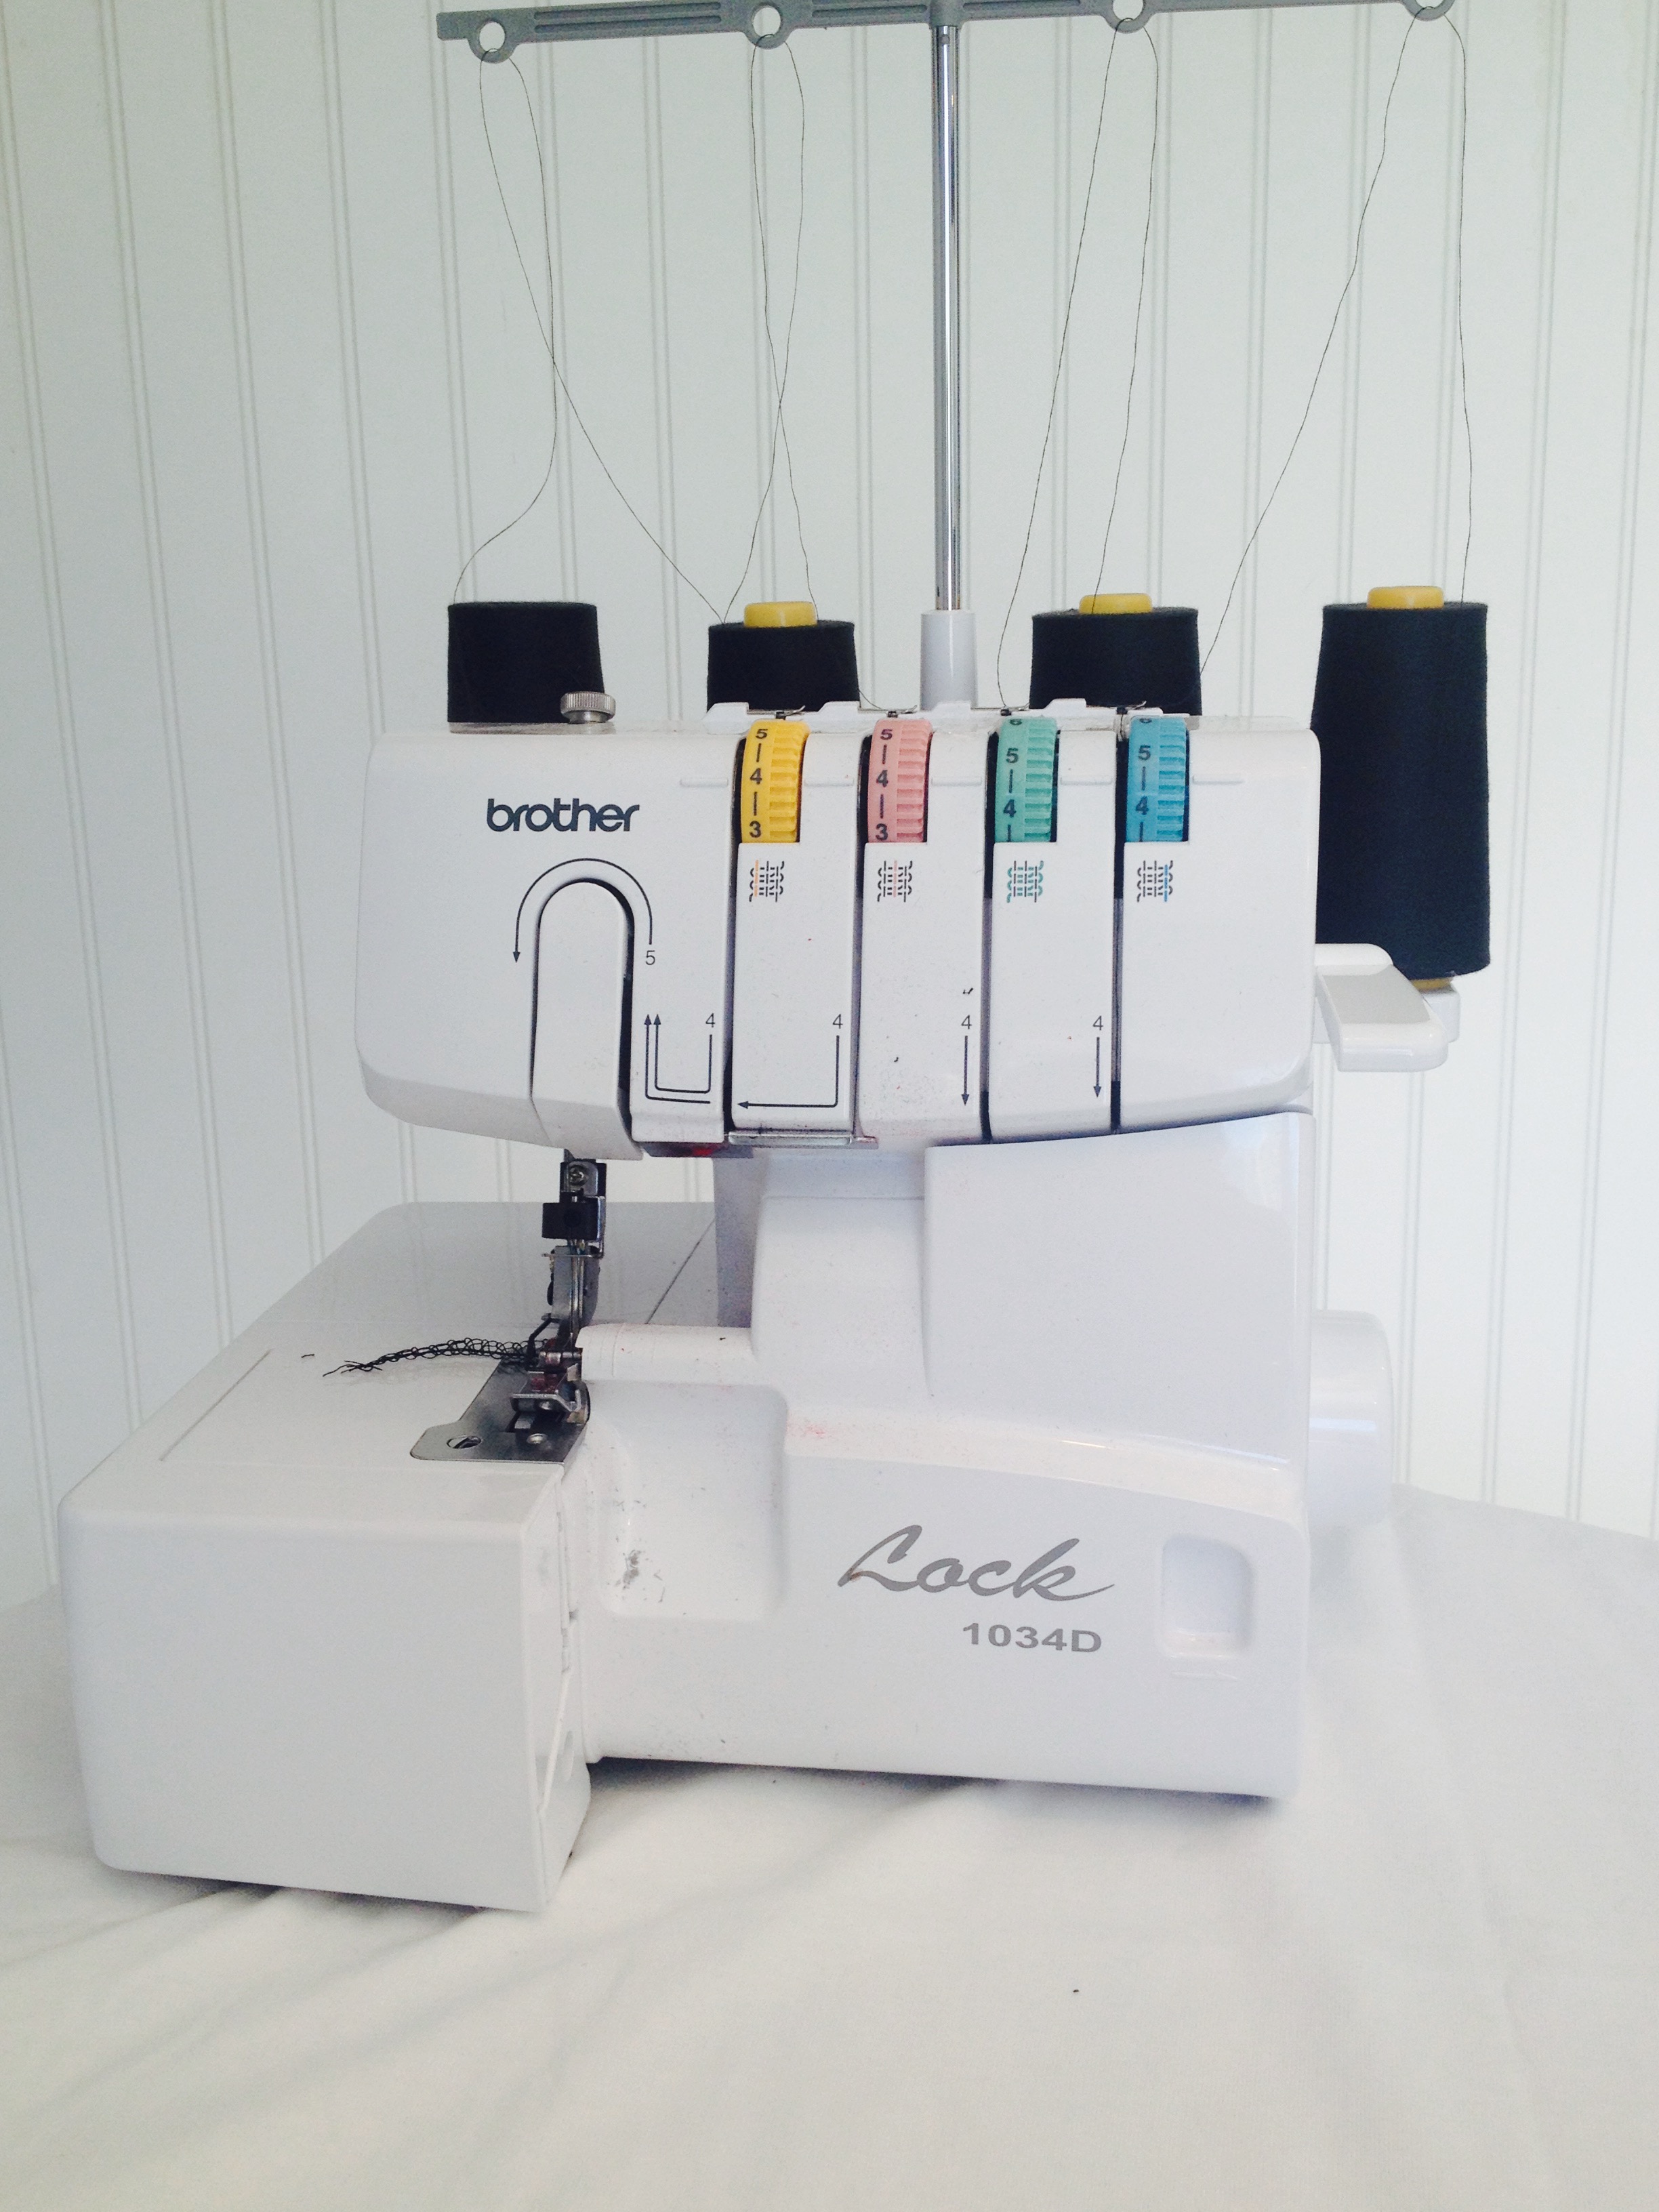
After cutting all four spools, it should look similar to this…

Next, lift your foot pedal up (the lever is usually on the side of the machine)

You are going to take the thread out of the left and right needle first. Pull both pieces of thread right here…

keep pulling…

The left and right needle thread won’t completely come out quite yet. You have to pull on the chain to break the overlock…

keep pulling until it is tight…

Now pull the left and right needle threads through.. it should come right out.

To take the thread out of the upper and lower loopers, start by pulling the thread here…

It should come right out, if not, you can pull the thread from the back end…. like this…

Cool! Now you should have a serger that has NO thread in it. If that part didn’t apply for you to start, don’t worry you’ll want to know that later when you change thread colors!
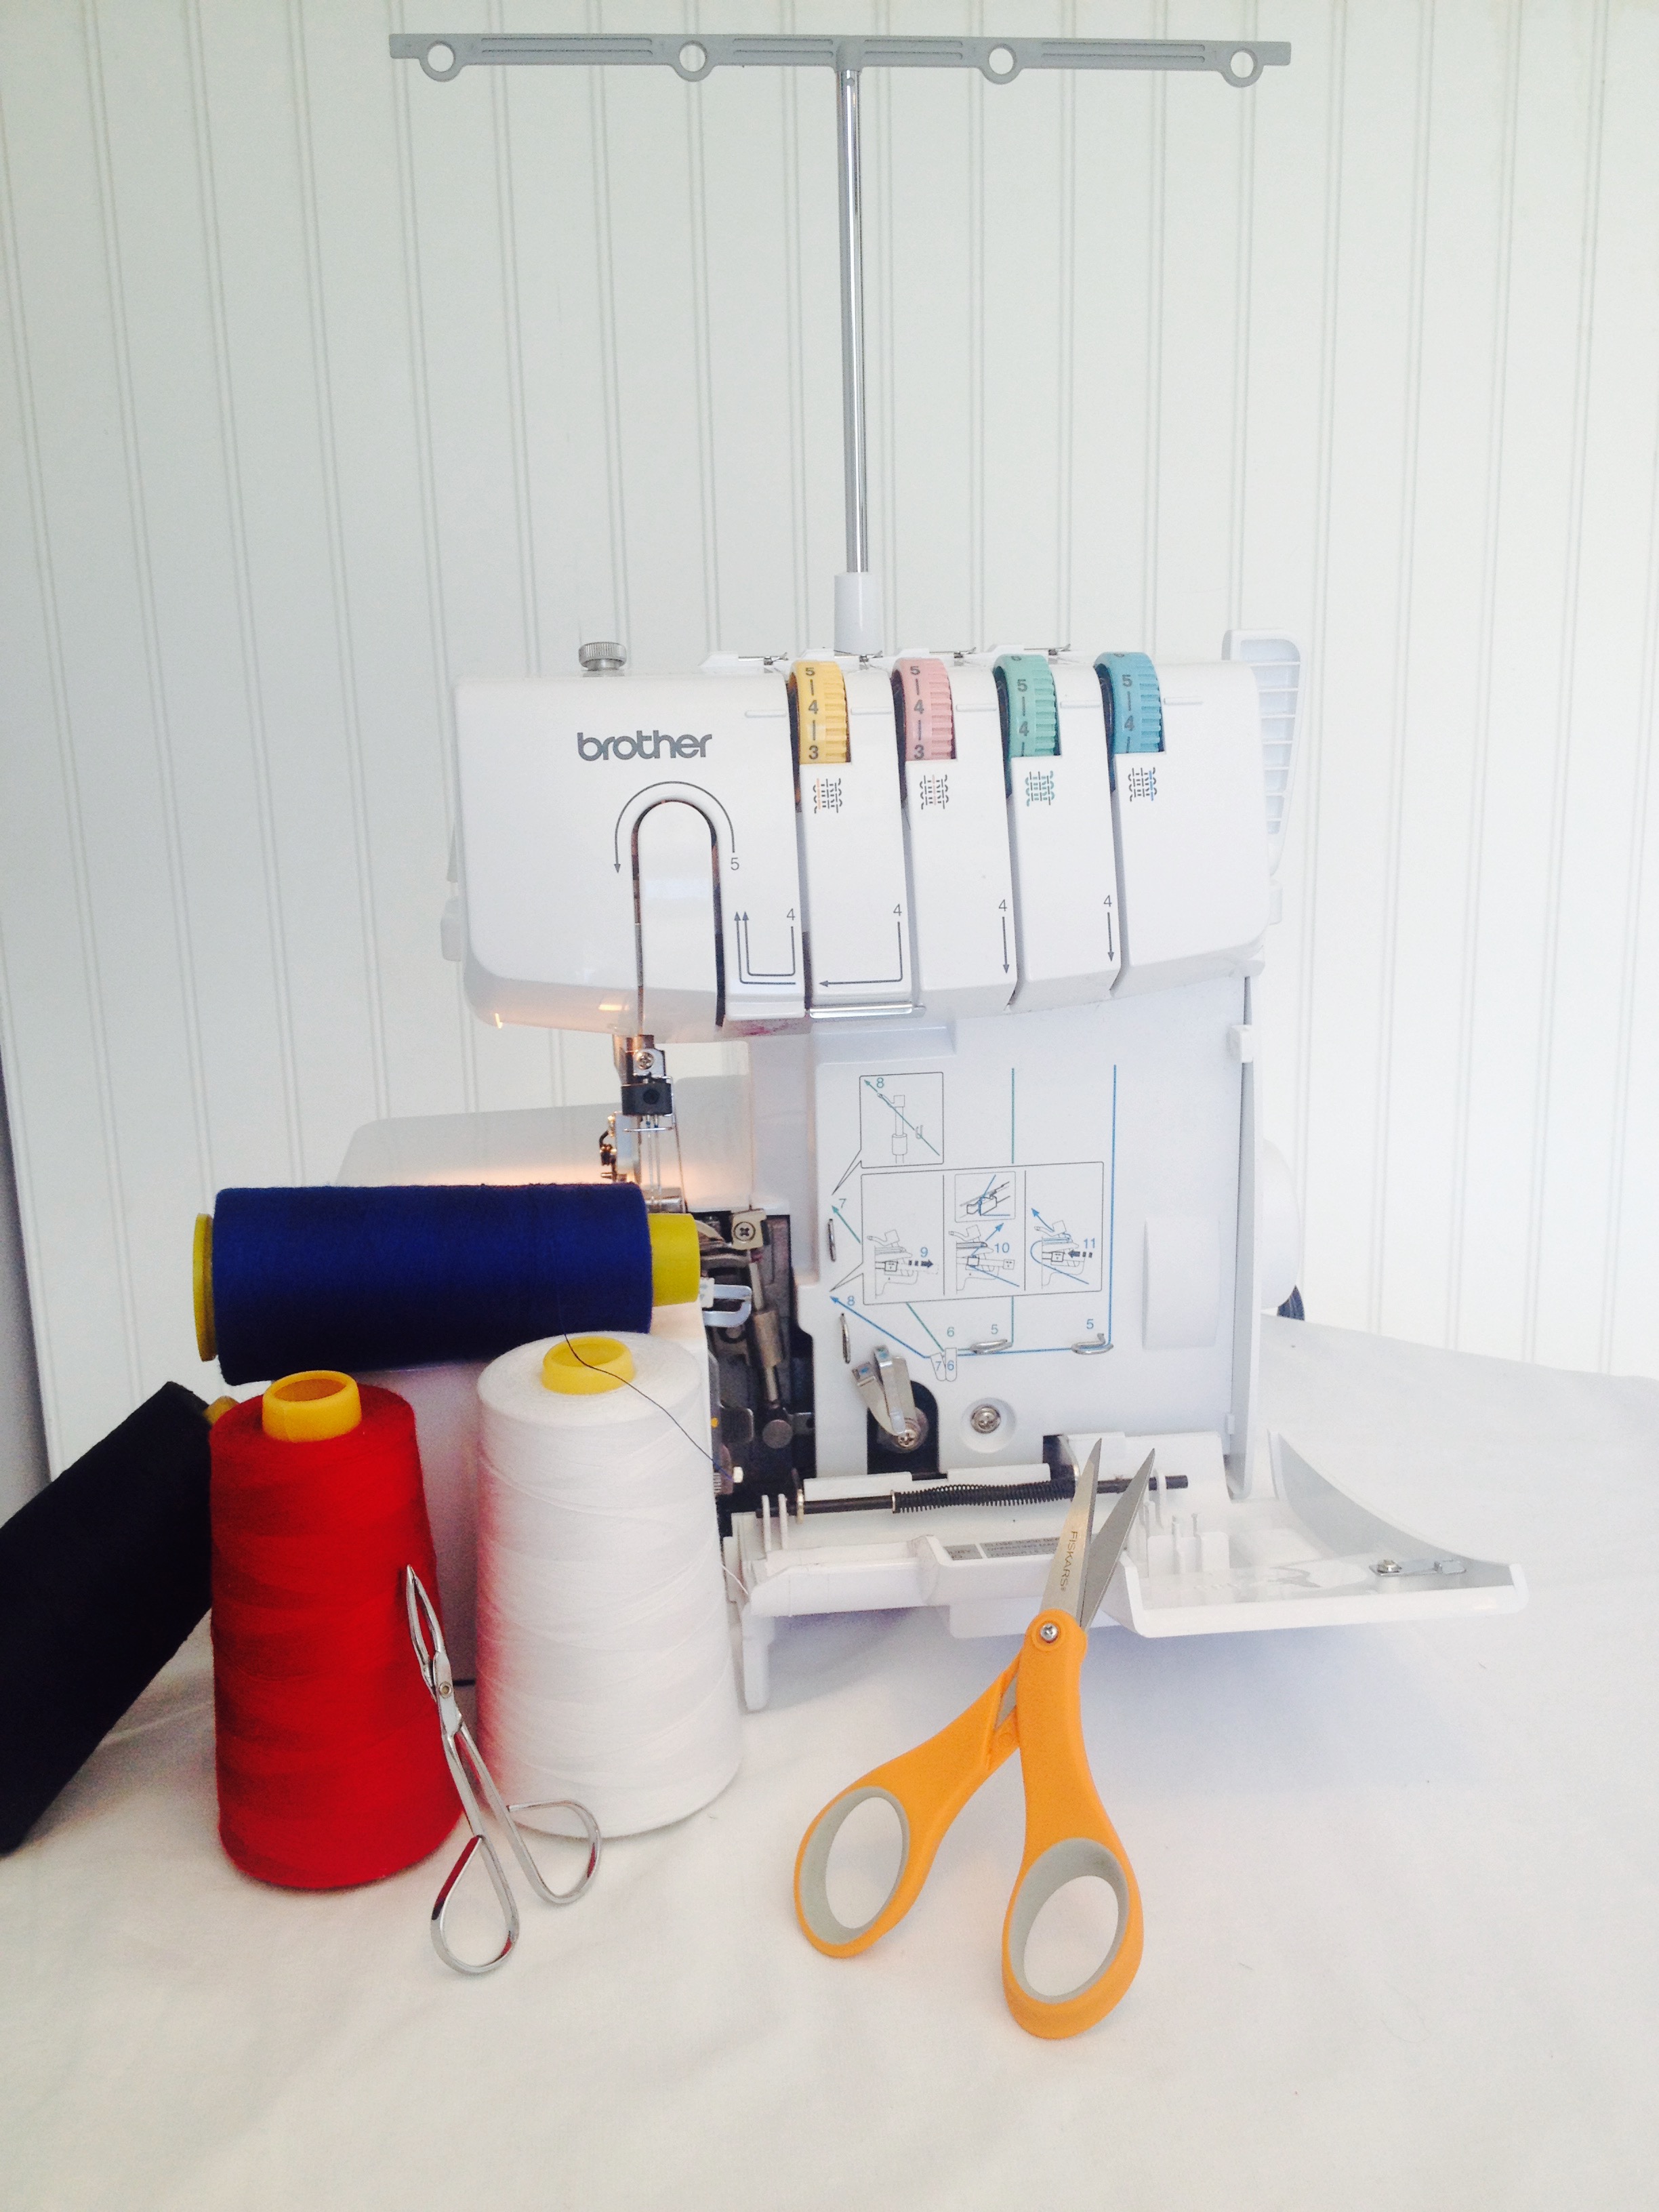
I chose White (left needle), Red (right needle), Black (upper looper) and Blue (lower looper) for my thread colors today.

Keep these things in mind before threading your machine:
- Lower your foot into until it is all the way down

- Turn your serger off, or at least make sure your foot is NOWHERE near the pedal! You don’t want to slice off your finger!
- Set the needles into the highest position (by manually turning the handwheel)
Now, let’s learn how to Thread Your Serging Machine!
1. To start, put each spool of thread on the back of your serger. Bring the thread up into the top holder. Make sure the thread goes up and through, like the picture shown below.

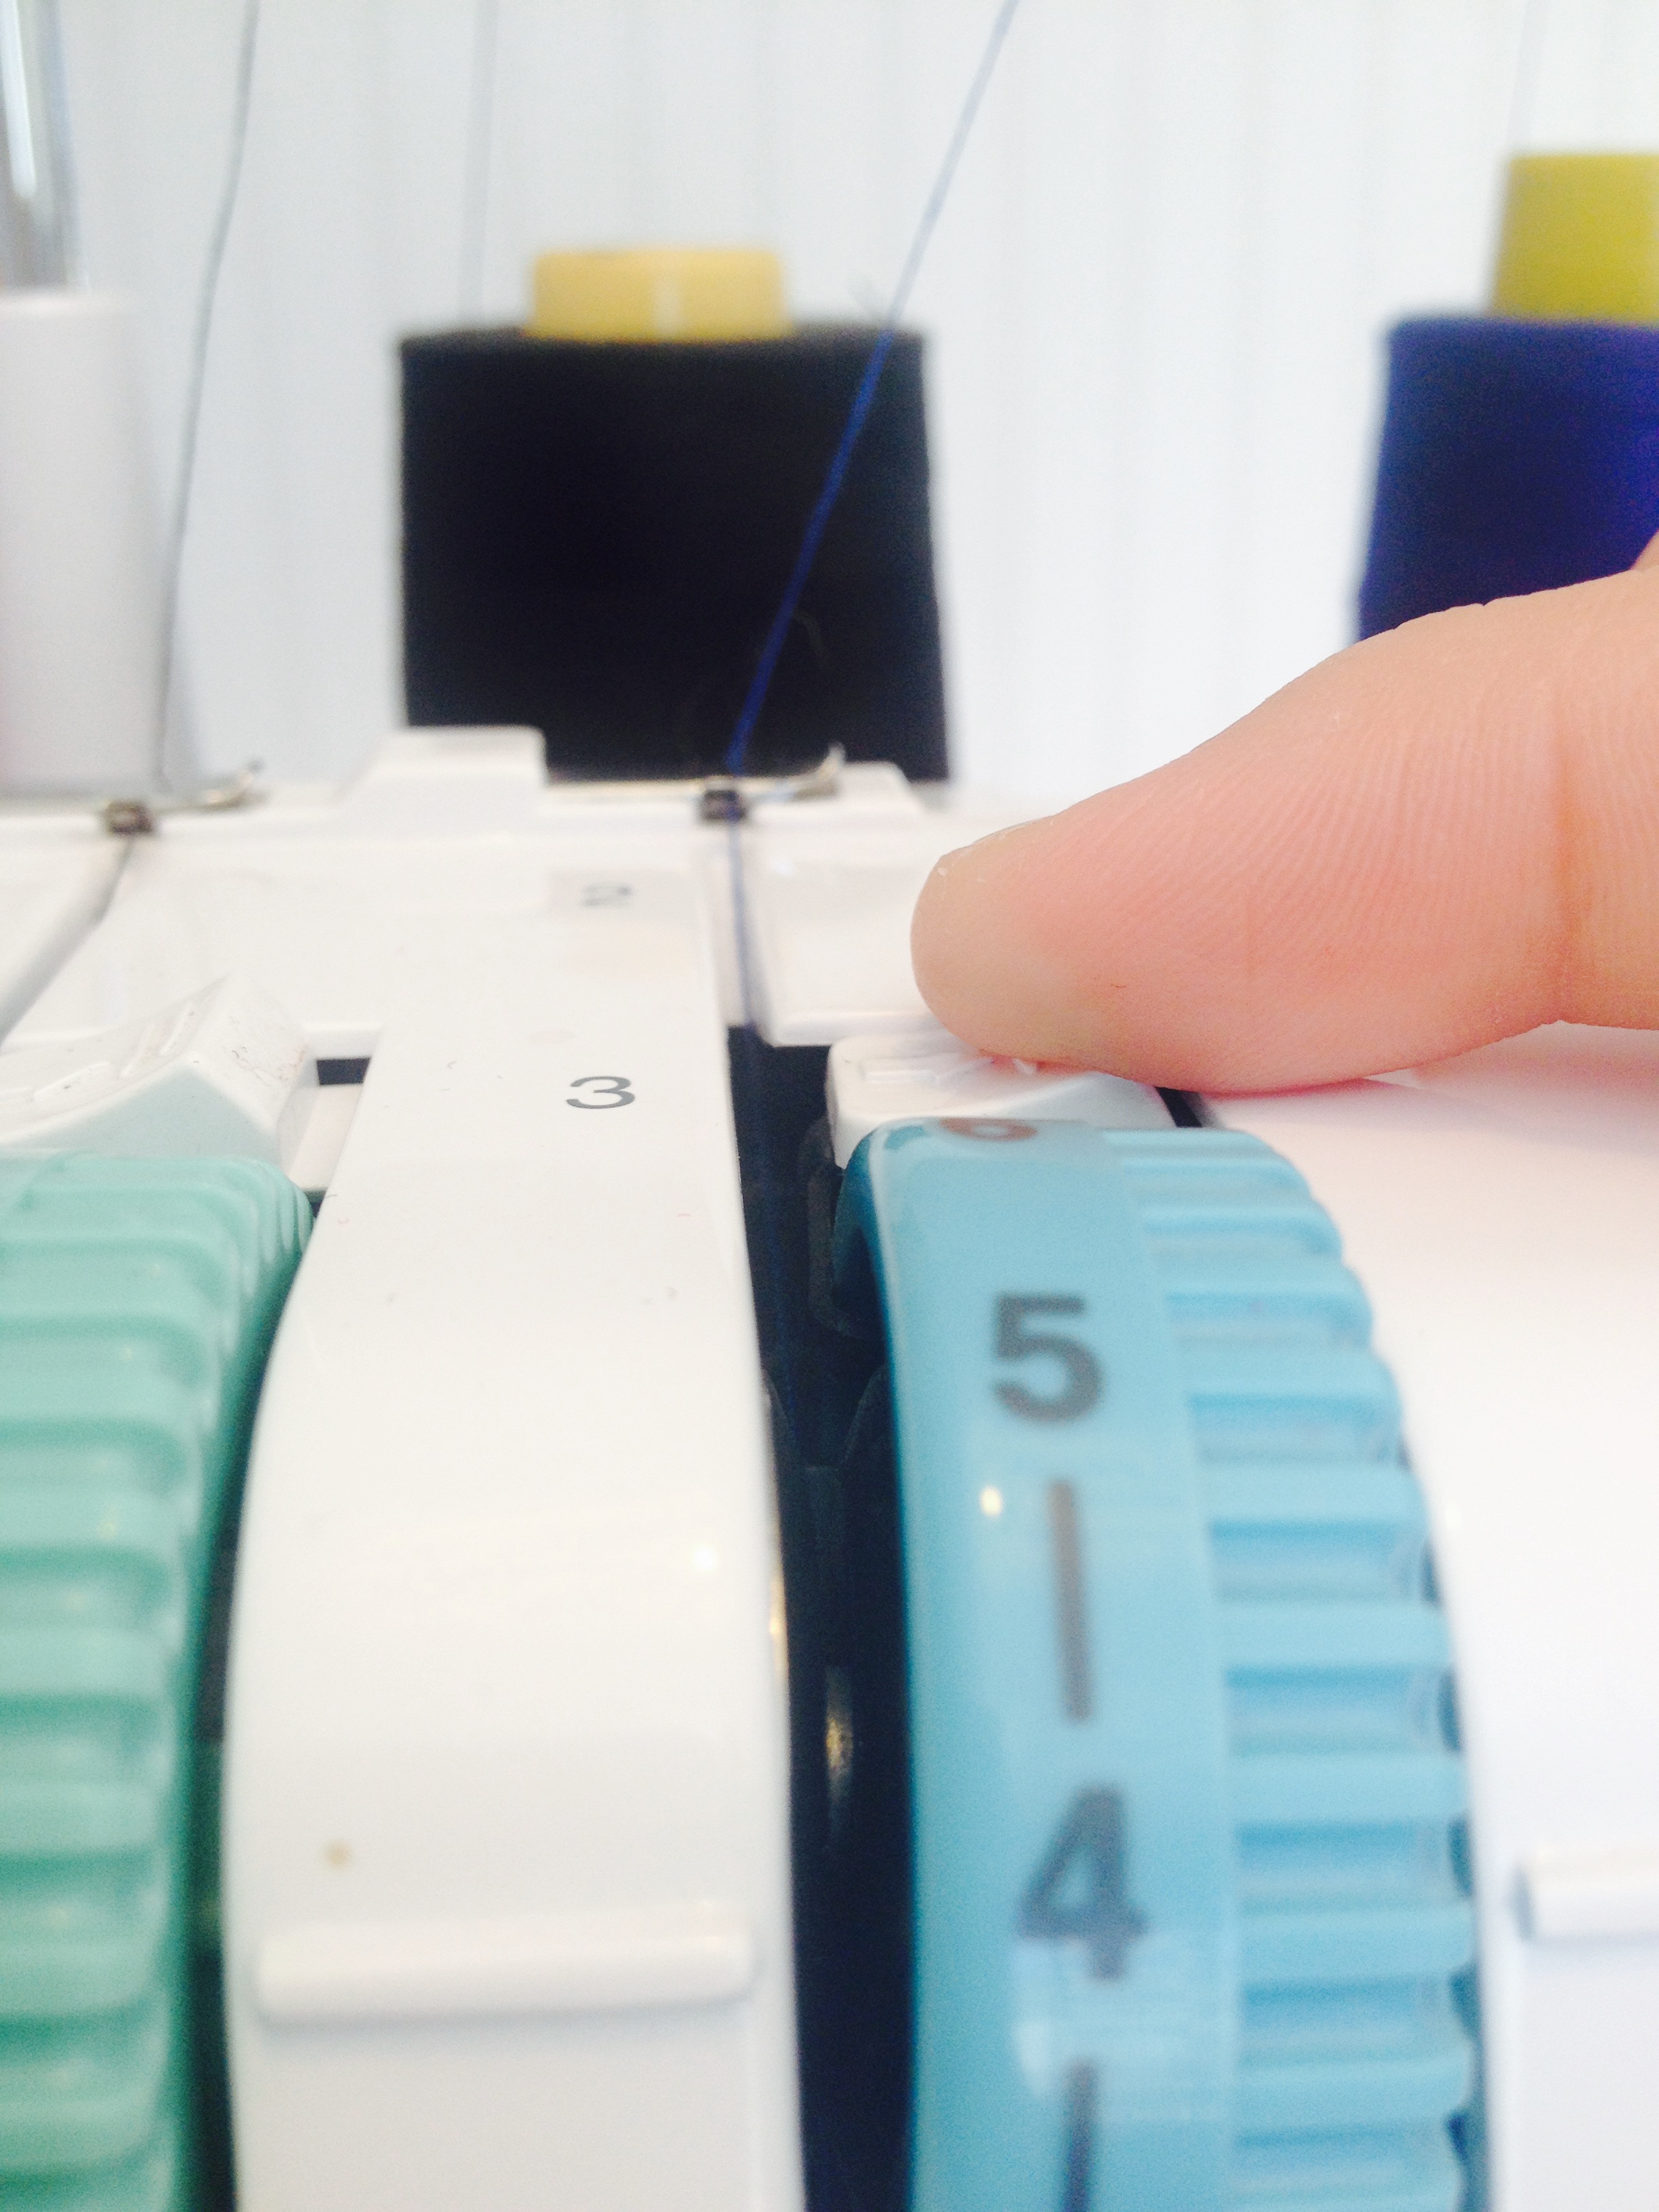
2. ALWAYS start with your UPPER LOOPER!! With my serger (the Brother 1034D) that is the GREEN dial. First, pull the thread into what’s called the proper thread guide.. see the silver thread holder below? That will hold the thread in place.

3. Next, slide the thread through the tension disc (this is by the tension dial). This is a two hand job right here. One hand will hold the thread, the other will push the tension release button to the right. This is an important step. It ensures your thread is properly placed between the tension discs (which will make sure you have the correct tension). To read more about tension, see here.

4. Pull the thread down. You can see in the picture below, that you will be following the green arrows.

5. Follow those guides to complete threading the upper looper. Make sure the thread for the upper looper is in all three hooks before threading it through the needle hole. Below you can see the three hooks I am referring to…


6. Now, thread it through the needle


7. Pull a little extra thread through so you have a tail
Awesome job! Now, thread your LOWER LOOPER next
1. The first two steps are the same as the upper looper. Start on the top of your machine. Pass it through the silver thread guide, and through the tension release button.

2. From here, you have four hooks you have to put the thread through, but they are different ones than the upper looper. There should be a “blue” guide to follow… see in the two pictures below.


3. Next, pull out the lower looper lever…

4. Glide your thread through the hook in the back… see picture below…

5. This is where your needles come in handy 🙂 Now thread it through the (horizontal) needle. Make sure your lower looper thread is pulled BEHIND / UNDER the upper looper needle. See for clarification in the pictures below.


6. Very important to remember! Push the lower looper lever back into the machine! If you forget to do this (which I have many times) your machine won’t serge properly.

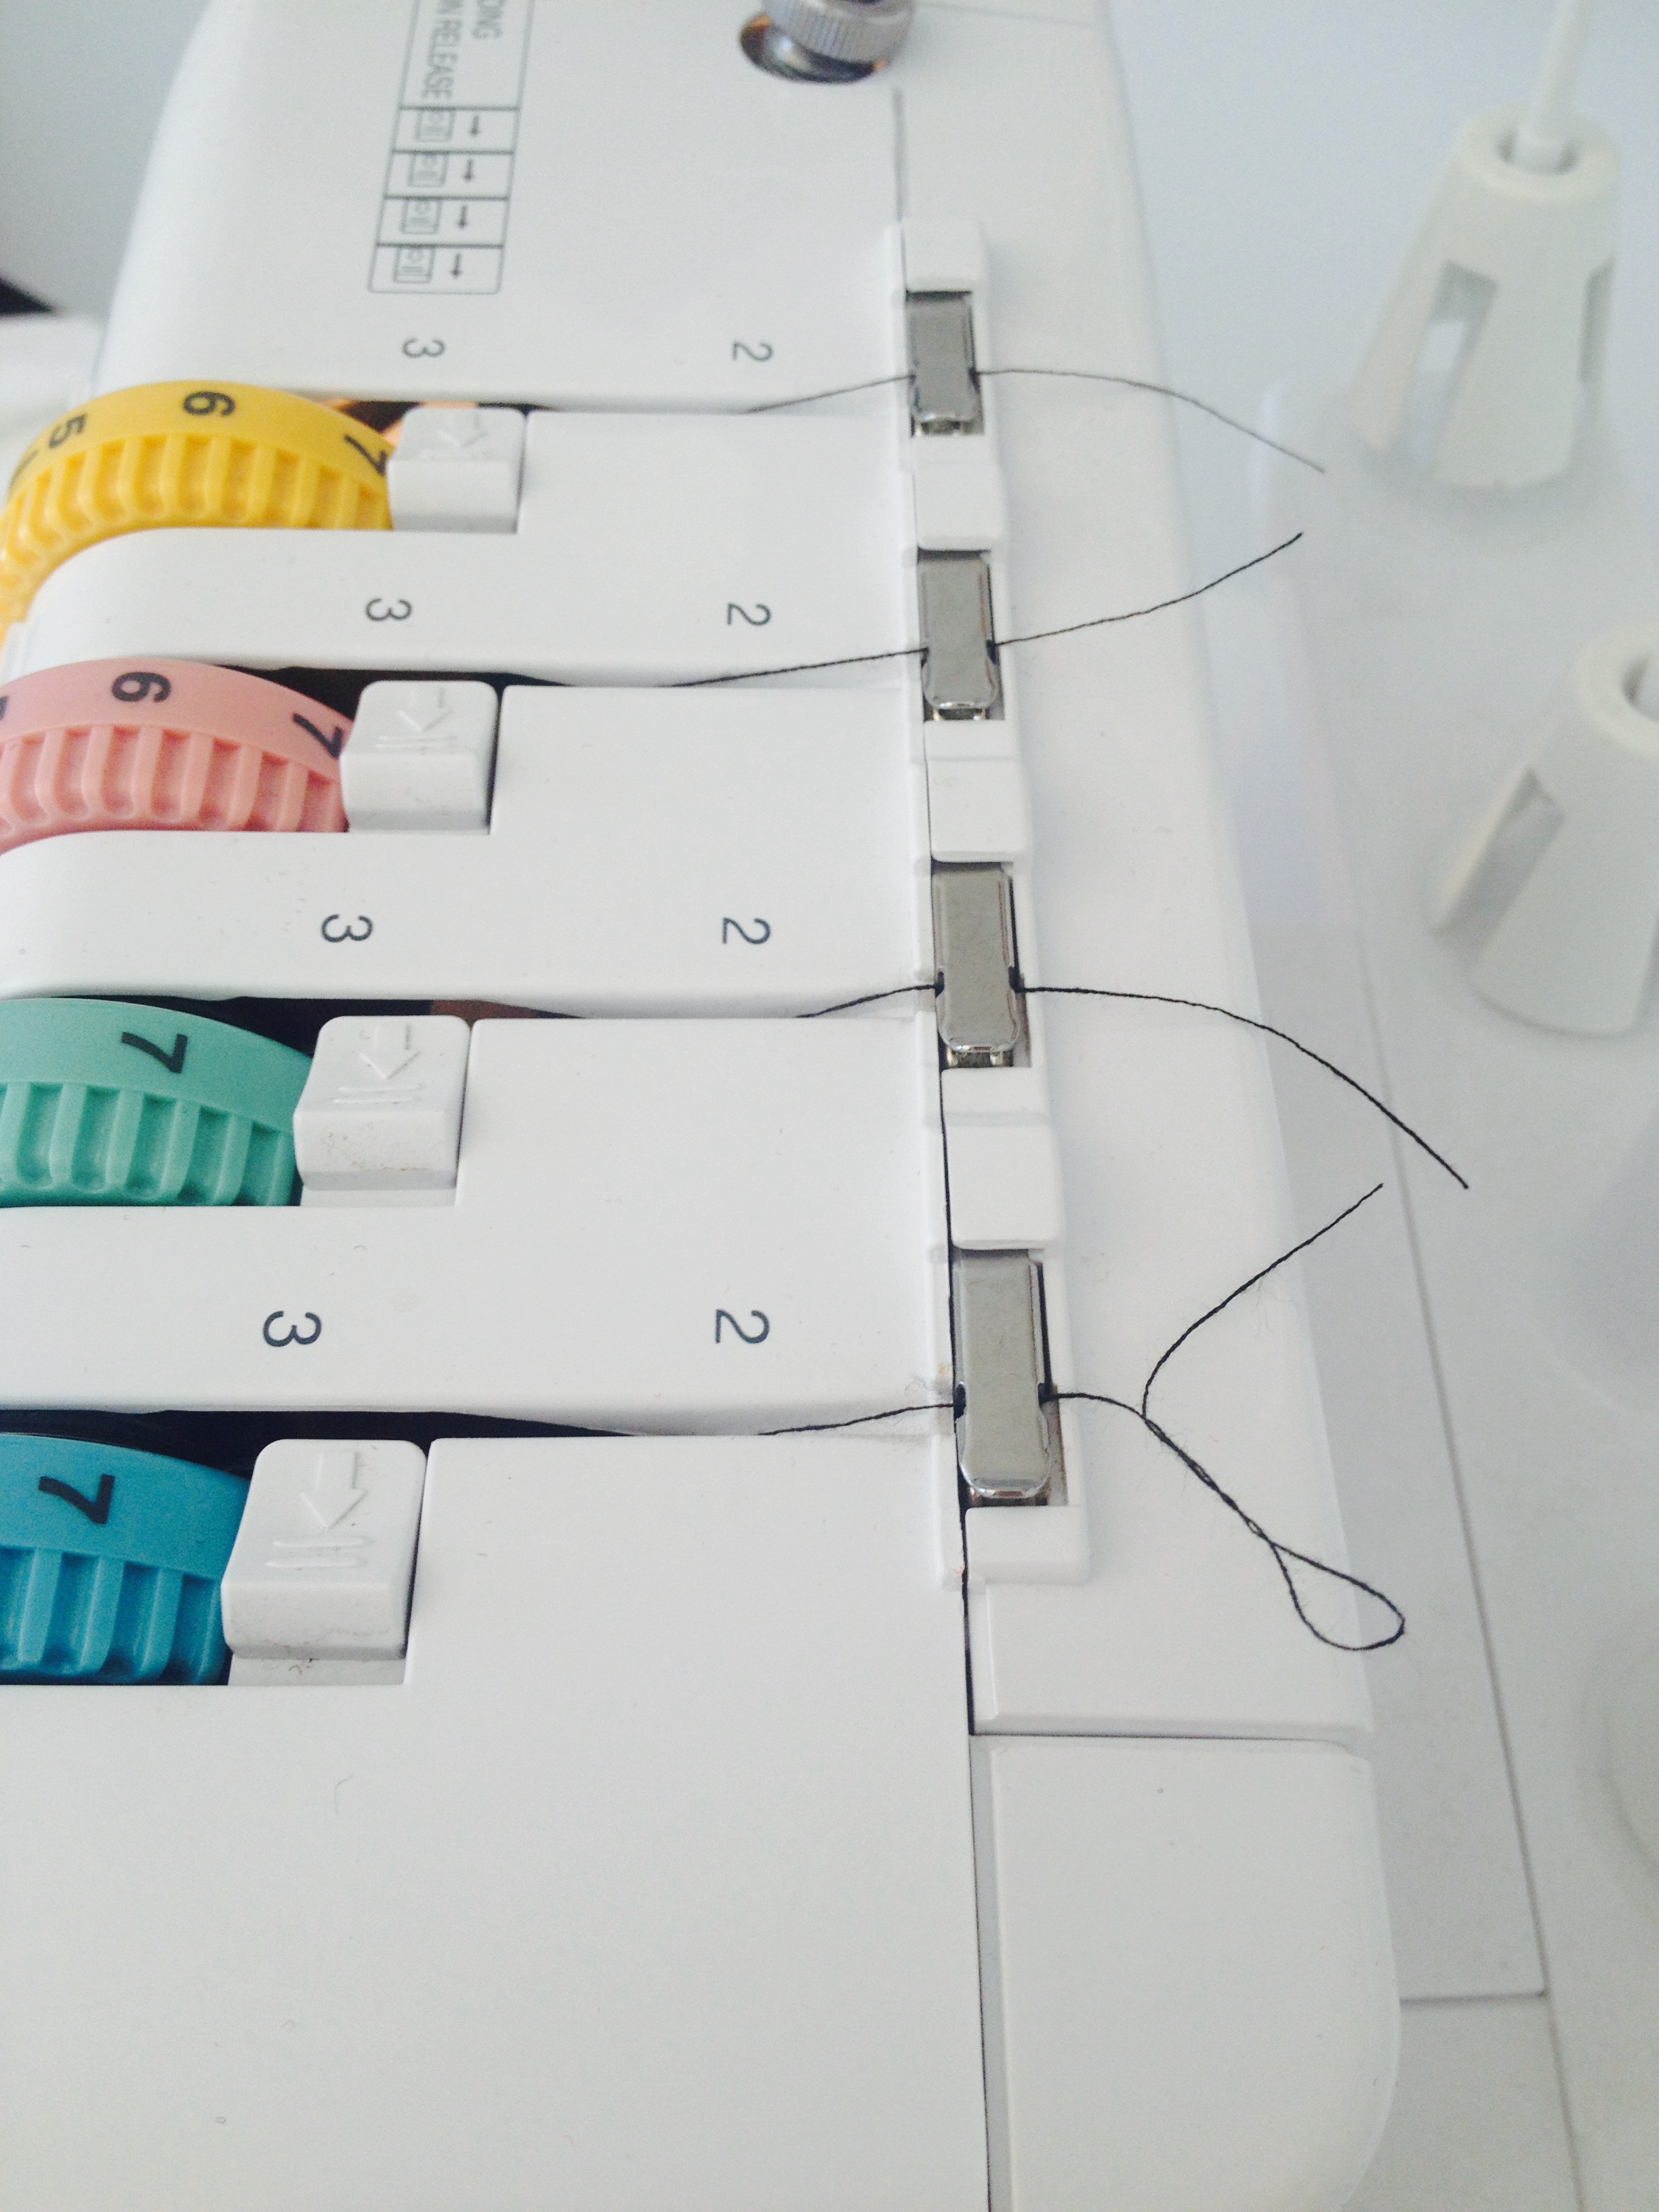
Before you close the front door on your serger… double check to make sure the thread stayed in each of the proper hooks.

WHEW! You made it through the hardest part! Now, it’s just like threading a sewing machine!
Thread your RIGHT NEEDLE next.

1. The top two steps are the same as the upper and lower looopers. After, follow the channel down and all the way accross the bottom.

2. Pull up through the channel

3. And back down, thread your right needle


Follow the similar framework for the LEFT NEEDLE
1. The top two steps are the same through the thread guide and between the tension discs, down the channel. Pull the thread down across the bottom, back up through the channel and thread the left needle like usual.


BOOM! Take a deep breath and give yourself a pat on the shoulder!
YOU DID IT! You are AWESOME!
To make sure your serger was threaded correctly (and before starting any project) pull all four threads to make sure there is tension..

Turn your machine back on, and grab your pedal

As you serge, pull the chain back away from you

Continue serging until all of the thread has gone through, you will have a tail that looks like this.

Feel free to cut that off, and now you have a perfect overlock chain!


YAY! I am so stinking proud of you!
Your homework for this week is to practice. I want you to take out your thread, and re-thread your machine at least 5 times!
I can promise, the more you thread your serger machine, the more you will feel comfortable with it.

Since the Learn to Serge Series has been so popular, I have put all of the lessons in one easy-to-read ebook. Click here to download your copy. 


